
Many people dream of having fruit trees in their backyard. It’s easy to see why. Being able to walk out into your yard and grab a crisp, ripe apple is a fantastic perk of being a homeowner. But growing your own orchard takes a good deal of commitment, and you must plant your trees correctly.
Making sure you follow the correct planting steps and doing it at the right time of year is crucial if you want your sapling to grow successfully and thrive. While it may seem like a simple project, there is more to planting than digging a hole and dropping it in.
If you love your garden, then you will not want to miss our article on ideas for creating a butterfly garden here on the Green Pinky to encourage these beautiful pollinators to come to your property.
Selecting a Variety
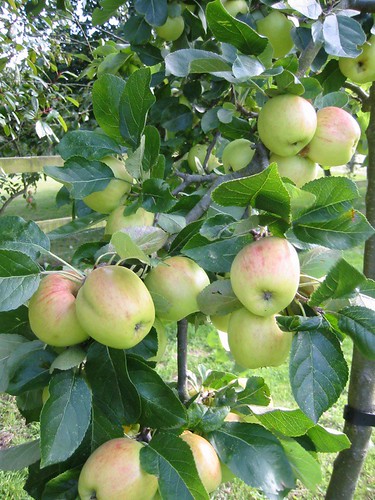
With over 2500 different types of apple trees grown in the US, picking a variety for your backyard is not easy. We talk about varieties to consider growing in another post. Still, overall when choosing a type, you need to consider its flavor, what you’ll use the fruit for, the overall size of the tree, and how it’s pollinated.
- Flavor: Apples range in flavor from very tart to quite sweet, depending upon their variety. Everyone has a personal preference, and sometimes the not-so-popular ones make for an excellent backyard tree.
- Use: Choose a variety based on how you plan to use the fruit. The firmness of the flesh determines if the variety is better used for baking or fresh eating.
- Size: Depending upon the size of your yard, consider the mature height of a variety. Dwarf varieties are best for small yards and are the easiest to pick.
- Pollination: Many trees need pollen from another tree for pollination. If you don’t have other apples nearby, you will need a self-pollinating variety.
Timing
It’s best to plant as early in the spring as you possibly can. Wait for the frost to leave the ground and the soil to dry out slightly from the snowmelt, but aim for early to mid-April. Research shows planting in April gives your sapling a much better chance at thriving versus those planted a month later.
You can do this in the fall, but there isn’t any advantage to waiting. Planting in the spring gives the root system time to establish before the low temperatures of winter.
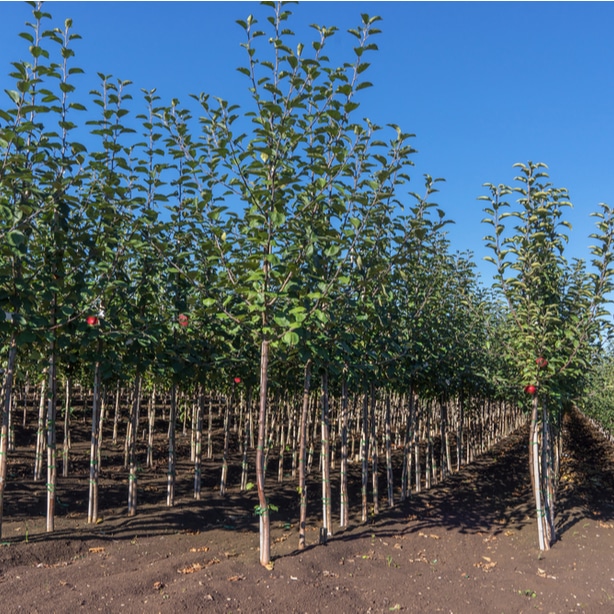
Buying a Tree
Buying an apple tree is not the time to look for the best bargain. Instead, you want the best specimen your money can buy — it will pay off down the road. Always look for a plant with no signs of disease and purchase from a reputable source. It may cost more, but many nurseries offer a warranty on their plants.
- Look for bare-root specimens that have healthy roots with no significant breakage.
- For container-grown specimens, look for good leaf color and make sure there isn’t any bark damage. Ideally, you want one that has been in a container for less than two years.
Equipment
Similar to pruning, you don’t need any specialized equipment for planting. The critical thing to have is a sturdy shovel for digging the hole and a good pair of gloves to prevent blisters. While not technically considered equipment, this project is much easier if you have someone to help you when it’s time to position the sapling in the hole.
- Shovel (A round point shovel with a long handle works best, but a flat blade shovel will work if that’s all you have.)
- Garden fork (Optional, but very helpful.)
- Support stakes
- Ties made of soft, stretchy material or rubber
- Hammer
- Pruners
- Gloves
- Fencing (Optional, but helpful if you have rabbits or deer that come into your yard.)
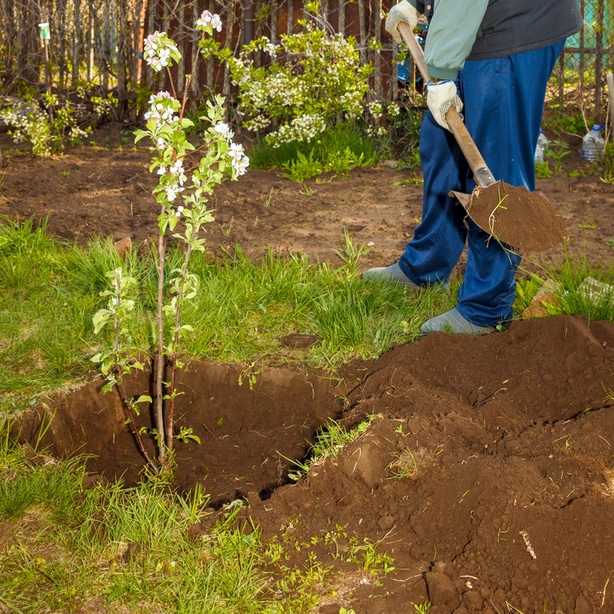
15 Steps to Planting
When it’s time to plant, the entire process is much easier if you water the ground well a day or two beforehand. Watering helps loosen the soil up so it isn’t rock hard. Also, it’s best to work earlier in the day when temperatures are low and the sun isn’t as harsh.
- Carefully remove container-grown specimens from their pot. Put bare-root plants in a bucket of water and allow them to sit in the shade for an hour or two to hydrate the roots.
- Using your shovel, dig a hole about two to three times wider than the root ball and about 2 to 3 inches deeper. However, don’t dig too deep. When planting trees, you need to be mindful of the depth.
- Once the hole is dug, slash its sides with your shovel or stick the garden fork in the sides at an angle so it penetrates the soil around the hole. Loosening the hole’s sidewalls helps the root to move into the surrounding soil easily as they grow.
- Remove any tags or labels, especially those wrapped around the trunk, to prevent trunk girdling as it grows.

- Position the sapling so the graft union – the spot where the apple tree and rootstock were grafted together – is about two inches above the soil surface. You may need to build up a slight hill of soil in the bottom of the hole to get it situated correctly. This step is where having an extra set of hands is helpful.
- After getting it positioned, gently fan the roots out in the bottom of the hole. Be cautious not to break or damage them.
- Begin backfilling the hole with the soil you removed, gently tamping it down using your foot as you go. This helps to rid air pockets without forcibly compacting the soil in the root zone.
- Create a slight depression or well at the soil surface that allows water to collect around the base naturally. Do not mound any soil up around the bottom of the trunk.
- Drive the support stakes into the ground using the hammer. Position them so they are at the edge of the planting hole, at a slight angle. The top of the stakes should gently move away from the trunk as you move upward.
- Using the ties, secure the bottom three feet of the tree to the support stakes.

- Slowly water your new tree, giving it approximately two to five gallons. Let the water soak down into the ground before adding more to help settle the soil around the roots.
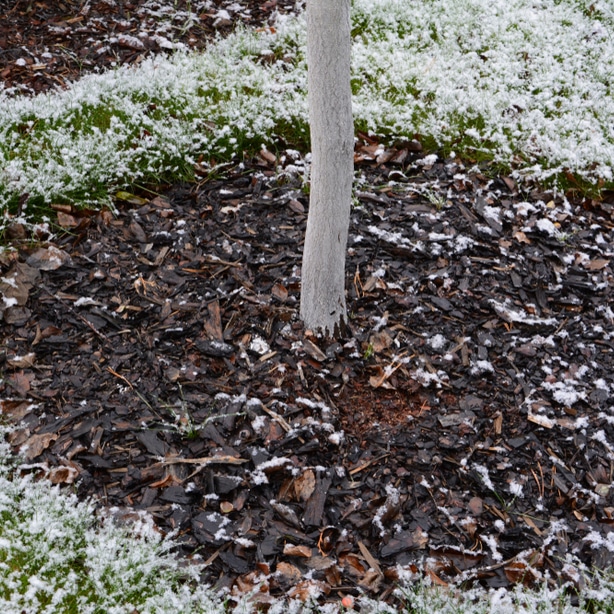
- Spread 1-2” of mulch around the trunk, fanning out to about three feet. Be careful the mulch doesn’t touch the bark.
- Install fencing to keep animals from munching on the tender young bark on the trunk. A shorter fence works for rabbits; a taller fence spaced a few feet away is needed for deer.
- Remove all branches from the bottom 18-inches of the trunk using your pruners. You also can prune it now to a height of three feet to encourage root growth and make thinning cuts to promote a central leader or multiple leaders.
- Water the tree well again the next day, giving it at least two gallons.
Caring For Your Apple Tree
Your sapling requires extra care for the first couple of years to encourage good development and growth of the root system and branches. Transplant shock should be minimal if you followed the above steps, but it still will take some time to recover. Proper watering, fertilizing, and pruning will help foster a healthy tree.
- Aim for about one inch of water weekly, whether it receives it from rainfall or supplemental irrigation.
- Avoid fertilizing the first year. If your sapling doesn’t put on at least 8-12” of new growth during the growing season, begin fertilizing the following spring.
- Carefully inspect your sapling regularly for insect pests or disease problems. If problems are noticed, treat them immediately.
- Keep the area inside what is known as the drip line free of weeds and debris.
- Refresh the mulch periodically, keeping it away from the trunk.
- Until fruiting begins, the only pruning it needs is to training or developing the overall form. Once the tree bears fruits, begin pruning more heavily.