

Water is crucial to survival. All forms of life depend on it, and that includes your lawn.
But watering your lawn so that the grass receives the right amount of nourishment can be a challenge. Many people lead very busy lives, and sometimes, there are simply not enough hours in the day to take care of your yard.
Perhaps you are away from your home on a regular basis and cannot be presentwhen it’s time to unroll the hose.
This is where technology can come to the rescue. Why not install a sprinkler system on your property? If you set it up properly, it will water exactly when you want and how much you want. That way, providing for your lawn will no longer be a problem.
But setting up such a system can be a challenging process without the right guidance. Installing it requires planning, digging, and laying down the right pipes, pumps, and connectors. More specifically, you will need to trench, connect the water source, install the right valves, connect wires, and build a manifold. And if a mistake is made, it can be very costly.
Today, we will review everything you need to know about different sprinkler system parts and a brief guide on how to install it.
- The Pieces
- The Process
- Step 1: Gather Information
- Step 2: Gather Your Equipment
- Step 3: Map Out the Sprinkler Heads
- Step 4: Map Out Zones and Pipes
- Step 5: Access the Water Line
- Step 6: Dig the Trench
- Step 7: Install the Valve Manifold
- Step 8: Lay Down the PVC Pipe
- Step 9: Install the Sprinkler Heads
- Step 10: Install the Controller

The Pieces
Before you water your lawn, it’s important to have a basic understanding of the parts of your system and what they are used for. This know-how will help you with problems that might come up with the system.
Water Pump
A pump is the heart of your sprinkler system. The liquid needs to travel a long way to reach the sprinkler heads. To be able to travel that distance, it needs to be delivered at a high pressure.
The city’s water pressure is sufficient if you are using a garden hose to feed a sprinkler on top of the turf, but you need the strength of a pump to ensure proper flow when hooking up a yard-wide system.
Water Meter
The water meter measures the amount of liquid that is being used when soaking your lawn. The meter will indicate how much is delivered to each section of your property.
With this piece, you can adjust the amount to ensure that each section of grass receives enough water for optimal growth
Controller
The controller serves two main functions in most sprinkler systems.
- It manages the distribution process and ensures each zone receives the correct amount of liquid.
- It monitors the structure for malfunctions and alerts you when they occur. If necessary, the pump controller can shut the entire system down.
The controller is connected to the system, and its sensors to monitor the water pressure and flow.
Valve Box
The valve box houses more than just valves. The valve box is placed underneath the turf and houses different components of the irrigation arrangement. It allows the homeowner easy access to the sprinkler valve and other components like sensors and wires.
The valve box protects these integral pieces from the elements and accidents. Properly placed, the valve box can be nearly invisible.
Sprinkler Shut-Off Valve
The shut-off valve plays an important role in avoiding or mitigating potential problems that could damage the sprinklers. Look for a system with a solenoid valve and switch, a well-designed controller, and a well-wired power supply, so the system can shut down when malfunctions are detected.
Proper design of your zones and the use of appropriate shut-off valves can minimize sprinkler disruptions and maximize protection.
Back-Flow Preventer
The back-flow preventer protects the water source from contamination and backup pressure should something go awry with the sprinklers. It prevents contaminated water from the sprinkler lines from back-flow into the homeowner’s potable water source.
Back-Flow Preventer
The back-flow preventer protects the water source from contamination and backup pressure, should something go awry with the irrigation structure. It prevents contaminated liquid from the sprinkler lines to flow back into your potable water source.
Timer
Most modern irrigation systems have an electronic timer that controls the flow through the system. It will determine when the system turns on and off. It also controls the valves that determine which zone to irrigate.
Most timers allow you to set a frequency schedule, and some timers allow different zones of your yard to follow different schedules.
Control Valves
A series of valves control the flow of liquid through the system. There is usually not enough pressure to run the entire structure at once. So, these valves divide your lawn into zones that will be taken care of independently of one another.
An automatic timer will control the valve opening and closing to follow the schedule you have set for each zone.
Pipes and Risers
An irrigation system consists of horizontally placed PVC pipes that carry liquid from the main supply to the control valves. Short vertical PVC pipes, called risers, extend from the horizontal pipes and are attached directly to the sprinkler heads. Water flows from the control valves through the pipes and risers to the outlets and onto the lawn.
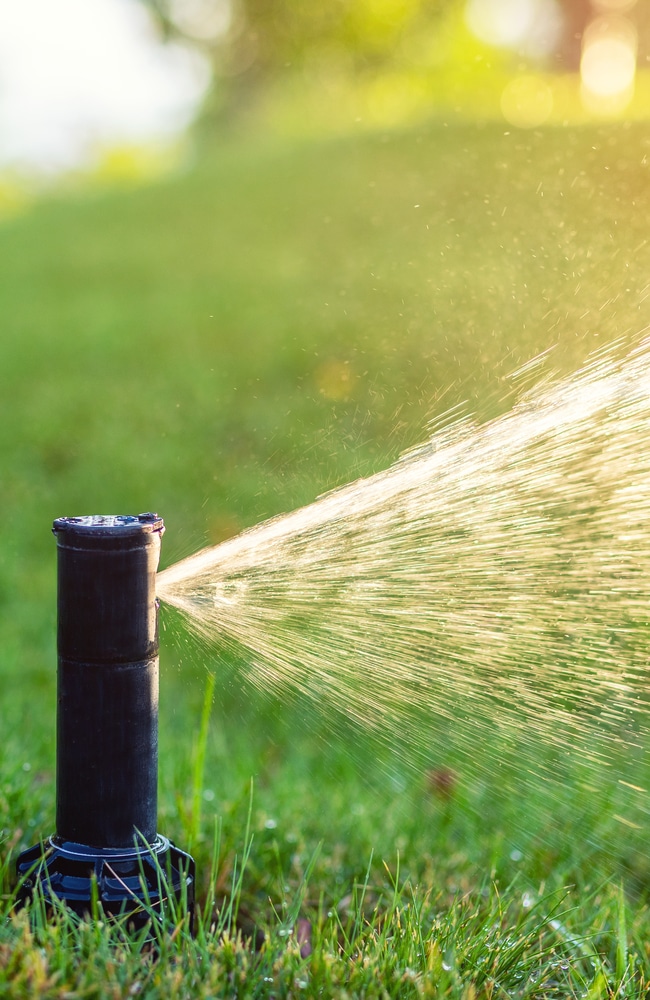
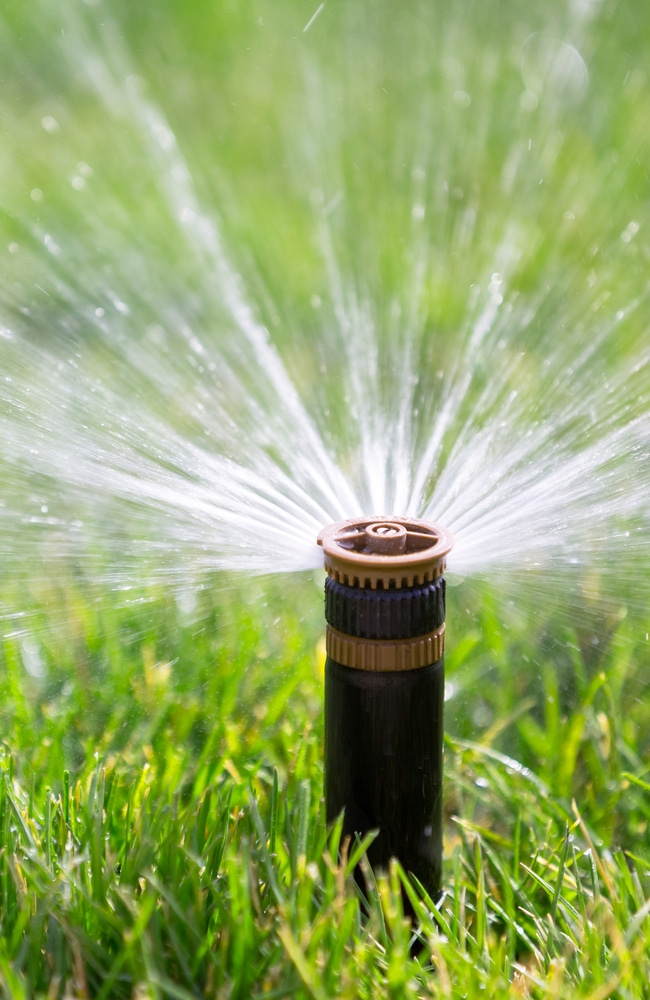
Sprinkler Heads
The sprinkler heads are the final piece of the system. They distribute liquid across the lawn. Therefore, they are positioned around your yard in a way that ensures complete coverage.
The most common types of irrigation outlets retract after watering the lawn and rest just below the turf’s surface.
The heads come in several different styles that work in different ways. Oscillating heads rotate as they operate and can cover a large area. Stationary heads spray in a way that can vary from a full circle to a narrow arc. They can be directed to cover a specific area. Low-flow or drip heads deliver small amounts of liquid directly to planting beds.
The Process
Now that you are aware of all the pieces that make up an irrigation structure and how those pieces function, let’s take a look at a step-by-step layman’s how-to guide for installing one of them on your property.
Step 1: Gather Information
- Measure the area of your yard to determine how many heads you’ll need.
- Measure your water supply and determine the pound-force per square inch (PSI) and the gallons per minute (GPM) you need.
Step 2: Gather Your Equipment
- Purchase all of the equipment you learned about in the first section of this article.
- Calculate pressure loss through the entire system. This can happen because of the size of your pipes and changes in elevation across your property. If you are unable to do these calculations, ask a professional.
- Make pressure loss adjustments to balance out the arrangement. This is important if you want the sprinklers to spray correctly.
Step 3: Map Out the Sprinkler Heads
- Determine the correct spacing of the heads.
- Select which type of head you want to use.
Step 4: Map Out Zones and Pipes
- Identify the watering zones of your lawn.
- Identify the valve zones along the pipeline.
- Map out the routes of the PVC pipes across your lawn.
Step 5: Access the Water Line
- Tap into the supply line that will feed your irrigation arrangement.
Step 6: Dig the Trench
- Dig 6″ to 8″ deep along the map you have created for the PVC pipes.
- Sides should slope inward at 45 degrees.
- Place the removed earth to one side so that you can fill the trench back in once the pipes have been laid.

Step 7: Install the Valve Manifold
- Dig a hole slightly larger than the valve box.
- Place the box into the ground over the valves.
- Attach one end of the manifold to the main water supply.
Step 8: Lay Down the PVC Pipe
- Connect ¾” PVC pipe to the open end of the valve manifold.
- Lay PVC along the entire trench.
- Use “T” connectors for pipes that branch off of the main line.
- Install the vertical risers in the spots you have marked for sprinkler heads.

Step 9: Install the Sprinkler Heads
- Before you attach the heads, flush the pipes so they are free of debris.
- Connect the heads to the vertical risers.
- Place heads just below the surface level of the lawn.
- Fill in around the heads with dirt and sod.
Step 10: Install the Controller
- Connect the wires of the controller according to the manual provided.
- Make your final connection to the water supply line.
- Check to ensure everything is working correctly.
Once you have everything working properly, make sure you use your sprinkler system correctly. Both underwatering and overwatering can lead to lawn issues and poor grass health.