
If you live in USDA zones 9 to 11, or if you have a greenhouse, conservatory, or orangery, you probably don’t need this article. But if you live in areas where there are bleak winter landscapes and are wishing to grow something inside, then this article is for you. This guide will help you garden indoors during the winter months.
How much time, energy, and money you want to invest are entirely up to you. Growing vegetables indoors can be costly.
For most of us, this type of garden should be considered a hobby rather than a way to put food on the table. When you consider the price of lights and electricity, soil, water and seed, and growing systems, that indoor-grown tomato might cost you $20.
That said, it is fun to do, and you can enjoy the taste of fresh herbs and the tenderness of just-picked greens all winter long.
Supplies You Will Need
- The most important thing you need is light. Remember that vegetables grown outdoors in summer need at least 6 to 10 hours of direct sunlight daily. Winter sunlight – even in a south-facing window – will not provide enough light for these plants’ needs. You will need supplemental lighting in the form of grow lights. Your most expensive investment will be in lights and the electricity you need to power them.
- If you hang your lights on chains, you can raise the lights as the plants grow.
- A timer for the lights is not completely necessary, but it does make life easier.
- Space. Do you have room for a lot of big pots? Your available space determines what you can grow.
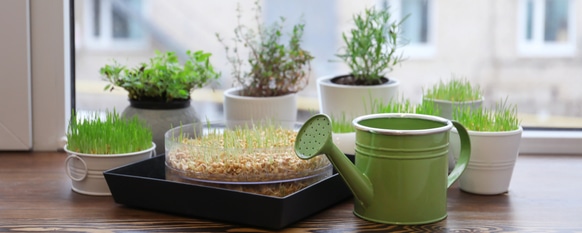
- A watering can with a rose for gentle watering and a spray bottle for misting.
- Potting mix – a lightweight soilless mix with good drainage that contains peat moss, vermiculite, and perlite is the best choice. Don’t use heavy outdoor soil.
- Containers – from sprout jars to seed starting trays to pots of all sizes, from 4 inches to 5 gallons (depending on your crops).
- A trellis or other structure for climbing plants like peas and cucumbers.
- A heat mat to provide bottom heat – seeds will not sprout in cold soil.
- Depending on where you set up your indoor garden, you might need something to protect the floor from water.
- And seeds!
Start Small
If you are just getting started with indoor vegetable gardening, you should start small. Sprouts, microgreens, herbs, and salad greens are the simplest to grow. As your skills develop, you can branch out.
Sprouts
Sprouts don’t need supplemental light because they use nutrients stored in the seed and don’t need to manufacture their own food initially. You can do this on your kitchen counter.
What you’ll need: a mason jar, a sprouting lid (or a piece of cheesecloth and a rubber band), and seeds.
Good sprouts to grow: alfalfa, mung beans, radish, broccoli, fenugreek, peas, sunflowers, wheatgrass, and lentils.
Directions:
- Place 1-2 tablespoons of seeds in the jar and fill the jar with enough water to cover the seeds. Let soak overnight.
- In the morning, rinse and drain the sprouts. Stand the jar on its lid – you want the seeds to stay moist, but not be in water.
- Repeat daily for about 5 days until the seeds have sprouted and have grown about 1 to 2 inches long.
- Rinse the sprouts well to remove seed husks, then allow them to dry.
- Store in the refrigerator for up to one week.
- Use in salads and stir fry, and on sandwiches.
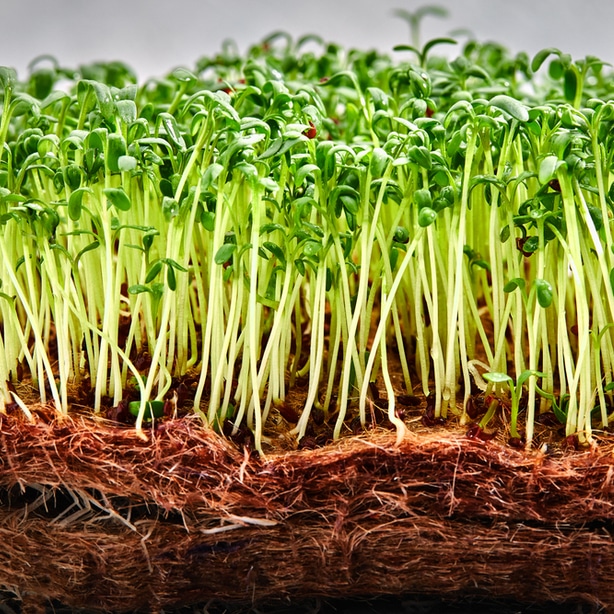
Microgreens
Microgreens are a lot like sprouts, except they are grown in soil. Use a seed starting tray and good quality potting soil. Microgreens also don’t require supplemental lighting (although they do need bright light from a window). Since the tiny plants use energy stored in the seed, they don’t need sunlight to make their own food yet.
Directions:
- Fill a seed starting tray or another container with potting mix.
- Sow your seeds according to the package directions. Some seeds need to be planted deeper than others, but you don’t have to worry about spacing because you are not growing these plants to their full size. You sow them very close together for a big harvest of tiny plants!
- Water well. You can use your spray bottle to provide gentle watering.
- Cover the trays with plastic wrap until the seeds have germinated. Once germination has occurred, and the plants are starting to grow, remove the plastic wrap. Keep the soil moist.
- When the plants are 1 to 2 inches high and have their first set of leaves, harvest with a pair of scissors.
- Because plants need a second set of leaves to keep growing, you probably won’t get a second harvest, but some seeds might still sprout. Give your microgreen garden another week before you start a new crop.
Mushrooms
Mushroom growing kits are easy and fun. You don’t need any special tools or skills – just a place to start your little mushroom farm. There are many different kits that grow many different varieties of mushrooms, so take some time to explore your options if you want to try this.
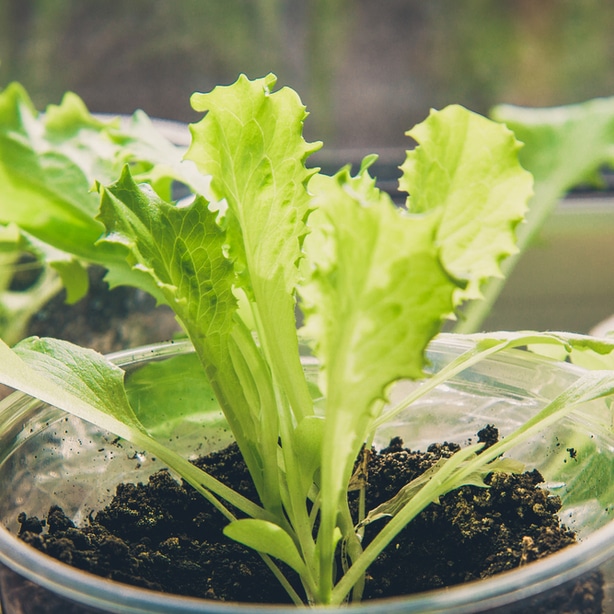
Salad Greens
You can grow greens like lettuces, kale, mustard greens, chard, and spinach indoors, but these take a little more work. They definitely need to be grown under lights. They can be grown in hydroponic kits or soil.
Directions:
- Start your seeds in trays or pots, as you would with microgreens. Salad greens need more space than microgreens because you are growing these plants to a larger size. Space your seeds accordingly.
- Keep them covered with plastic wrap until they sprout.
- When the plants are about 2 inches tall, thin them to give each plant enough space. The seed packet will give you this information.
- Don’t try to grow greens to full size. Harvest the leaves with scissors when they are small for a tender, tasty salad.
- Many varieties will send up new leaves, keeping you in fresh greens for many weeks.
- Tom Thumb, Salad Bowl, and Black Oakleaf lettuces, Catalina spinach, and mesclun mixes are good plants for beginners.
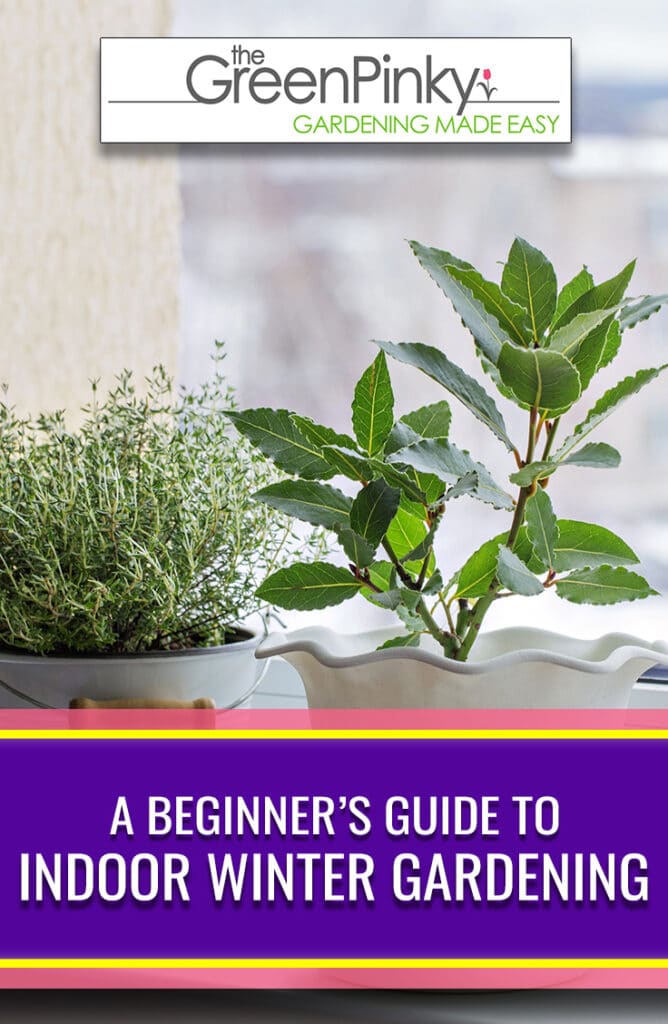
Herbs
Herbs are easy to grow indoors, and there are lots of herb growing kits you can buy. We like the ones from Aerogarden and Click and Grow. These companies let you customize the plants you get, and the kits come with built-in grow lights on timers and sensors that tell you when to fertilize and water. The herbs are grown hydroponically (in water), so you won’t need to buy a potting mix.
You can also grow herbs in pots on a sunny windowsill or under grow lights. Follow the directions for salad greens to grow herbs in soil indoors.
Good herbs to grow indoors: rosemary, basil, thyme, parsley, mint, chives, cilantro, and oregano.
Root Vegetables
Growing root crops indoors in winter gets a little more complicated. You need a container that is deep enough for the radishes, beets, turnips, and carrots to develop. Dwarf varieties of these crops will work best indoors.
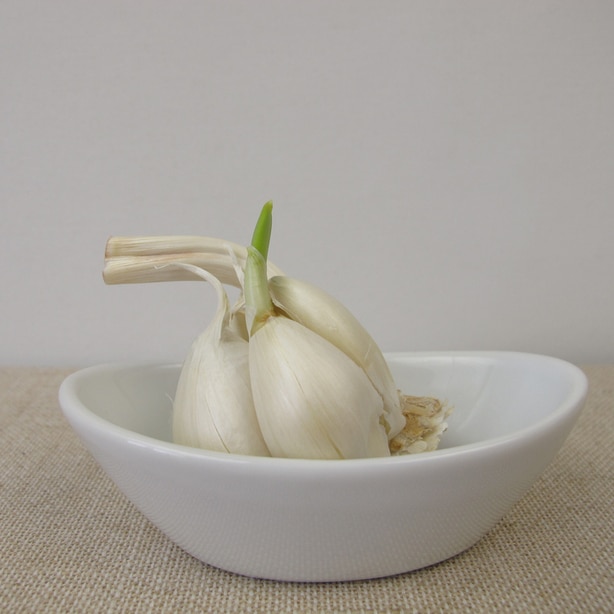
You can grow garlic shoots by simply placing a few cloves in a saucer of water. Change the water daily. Once the shoots appear, snip them off for stir fry or salads. Onions and scallions can also be grown for their shoots.
Advanced Class Indoor Gardening
It’s harder to grow fruiting vegetables indoors than it is to grow leafy vegetables. But if you want to give tomatoes, peas, peppers, or cucumbers a try, you will need the largest containers – at least a 5-gallon size. It’s best to grow mini varieties. Be sure they have lots and lots of supplemental light and adequate water. And be sure to fertilize your crops, just as you would in summer. Here are some to try:
- Peppers – Try Carmen or the jalapeño Big Jim
- Peas – Grow dwarf varieties or sugar snap peas. You can also grow them for shoots.
- Cucumbers – Tasty Jade and Socrates do well indoors.
- Cherry tomatoes – Micro Tom, Tiny Tim, and Patio are all good for indoor growing.
These fruiting vegetables need to flower before they make fruit. Some varieties are self-pollinating. If they are not, you will need to pollinate the plants yourself with a toothbrush, cotton swab, or paintbrush. Brush the pollen from one flower onto the pistil of another flower…pretend you’re a bee!
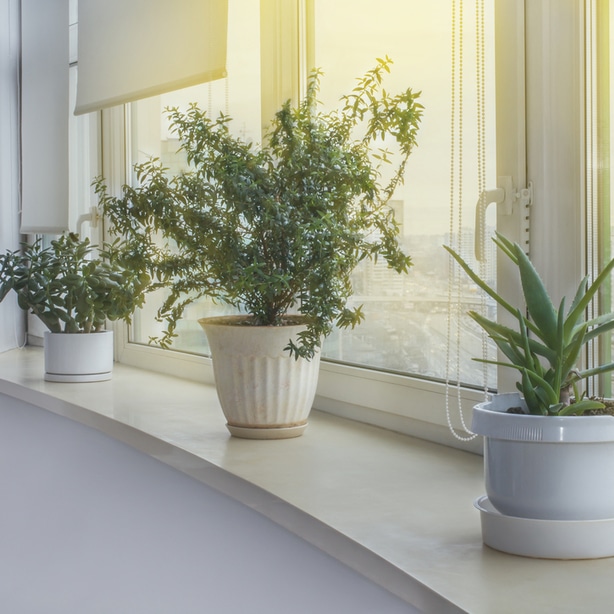
Houseplants
If you don’t want to try indoor vegetables, tending to houseplants can satisfy your gardening itch.
You can give your indoor plants a spa day.
- Remove dead leaves and trim back straggly growth.
- Wash the leaves to remove dust. Bring your plants to the kitchen sink and shower them with the sprayer. Let them drain and dry before returning them to their places.
- Inspect for pests and diseases. In particular, watch out for spider mites. These pests love warm indoor temperatures, and their populations can explode indoors.
- Repot any plant that is outgrowing its container. Use a clean pot and fresh potting mix.
Turn your plants frequently so that they grow evenly. They can get leggy as they stretch out to find sunlight.
Remember that houseplants can dry out more quickly in the indoor winter air. Misting your plants or setting them on a tray of wet pebbles will help increase humidity.
Some plants like to rest from growing in the winter and will not need fertilization until very late in the winter. There are fertilizers specially formulated for winter growing conditions – use these at half strength monthly.
Force a Bulb
Amaryllis and paperwhites are easy to find and easy to grow. We have seen wax-covered amaryllis bulbs that need no soil or water to grow their beautiful flower. How’s that for easy?
Paperwhites can be grown in a bowl of wet pebbles.
You can force tulip and hyacinth bulbs. These need about three months of chilling at temperatures around 40°F. The crisper drawer in your refrigerator works well for this; just don’t put them in the same drawer with apples.
Once the bulbs have chilled, the easiest way to grow them is in water. The important thing to know is that the bulb itself must not be in the water but just above it, so the roots stay wet. There are specialty vases for this, or you can use any container and lift the bulb above the waterline with pebbles.
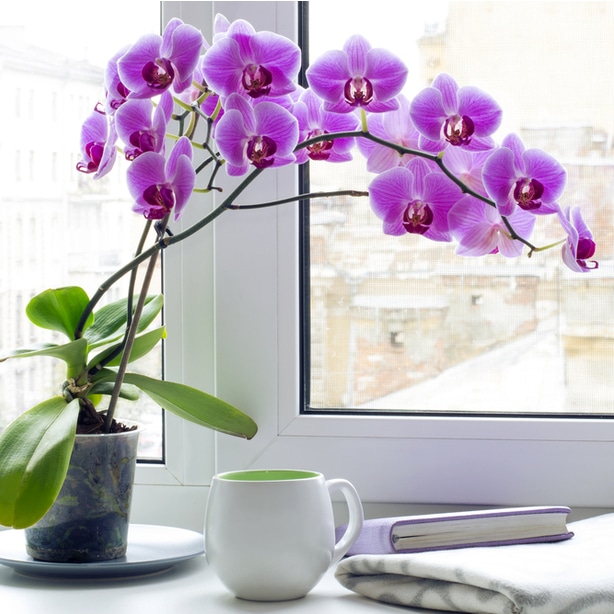
Orchids and Other Flowering Plants
Something as simple as picking up a flowering plant at the supermarket can help you conquer the winter doldrums. You can bring home an orchid, cyclamen, primrose, or kalanchoe and enjoy these for several weeks. Just follow the care instructions on the tag.
Orchids, African violets, and anthuriums will rebloom; bromeliads, cyclamen, and kalanchoe probably won’t, but you can still enjoy their foliage.
Florist mums and primrose can be composted without guilt when they’re done blooming—the same with potted spring bulbs.
Indoor Gardening with The Kids
Children can get the “winter blues” too (except on snow days!), so pint-sized garden projects are a fun way to lift their moods and get them interested in the science of growing things.
Have you ever grown an avocado tree? This is an easy project to do with the kids. All you need is a clean avocado pit, a glass of water, and a few toothpicks.
- Poke the toothpicks into the middle sides of the pit so that it will balance on the rim of the glass – half in, half out – pointy end up.
- Fill the glass with water to cover the bottom of the pit.
- Change the water every few days – you want to keep the water fresh, and you don’t want the pit to dry out.
- In about a month, a root and a shoot will form. You can then transfer the young plant to a container of soil. Leave the top half of the pit above the soil line.
- Avocado plants won’t survive outside above USDA Zone 8, but they make a nice houseplant for the rest of us.
You can do the same with a potato and grow a vine. Or grow carrot tops in water and give the greens to your guinea pig. Kids can start the seeds from a lunchtime orange or other fruits and vegetables.
Make a fairy garden in a terrarium or a dish garden. Pretty pebbles, moss, and small plants like baby tears, pilea, mini ferns, and ivies are great choices for terrariums. Or grow a dry garden using little cacti and succulents. Be sure that the plants you choose have the same water and light requirements. Add small plastic animals, fairy statues, or little furniture for decoration.
Planning and Record-Keeping
Sometimes we like to use this quiet season as a time for reflection and planning. You can update your garden journal – or start one! This is a good time to sort all those plant tags and photos you took this summer but didn’t have time to organize. You might want to start a garden scrapbook.
Maybe you’ll grab a sheet of graph paper and draw a new garden design.
And who doesn’t love paging through all those garden catalogs? They are a reminder that spring is just a few calendar pages away.