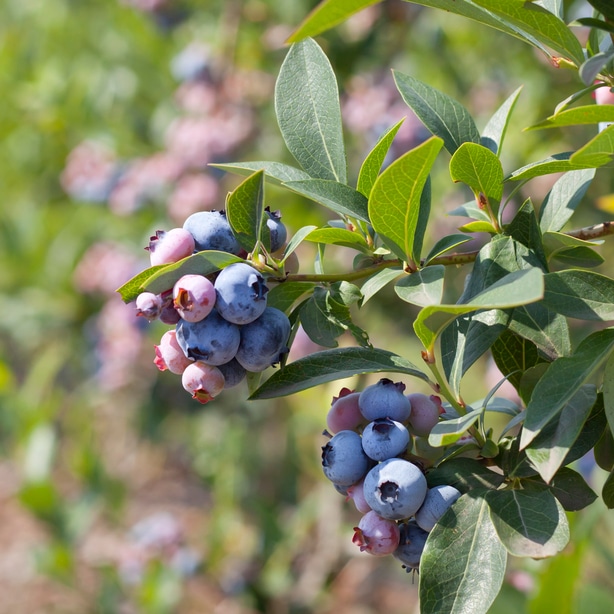
Once you take the leap and buy a blueberry bush for your garden, it’s essential to plant them correctly. Getting bushes in at the right time, preparing the soil well, and placing them at the correct depth are all important so that you can enjoy the deliciously sweet, sun-ripened goodness. Very few things compare to juicy purplish berries right out of the garden!
So when should you plant your new blueberry bushes? How do you go about preparing the garden soil? Do they need special soil conditions? Should the root ball be buried deep beneath the soil surface or close to the top?
If you are looking for answers to any of the above questions, you’ve come to the right place. Let’s get on with it and talk about how to plant a blueberry bush!
Make sure to also check our guide on how to grow beets. These sweet root vegetables are a healthy addition to your salads!

Best Time to Plant
Regarding timing, you want to plant your blueberry bushes as early in the spring as possible, whether you have container specimens or bare rootstock. Aim to get them in the ground as soon as the ground thaws in late winter or early spring. Avoid planting in the fall, especially in zones five and colder.
Getting bushes in the ground as early as possible in the spring gives them a longer amount of time to establish themselves before the heat of the summer and the cold of winter. Blueberries tolerate cold weather depending upon the variety, and blooms can handle temperatures just below freezing without any damage.
Even though they are cold and frost tolerant, plants don’t fare as well in cold climates when sown just before the snow flies. Without time to establish their root systems through the spring and summer, they are more prone to winterkill.

Preparing the Soil
Blueberry bushes are particular about their soil. They need a soil pH between 4.0 and 5.0 and prefer well-draining, loose soil full of organic matter. If possible, it’s best to prepare the garden bed in stages. Amend the pH the fall before to give it time to “settle,” and then work it again in spring.
The first step in preparing the garden bed is checking the soil pH. You can use a home soil test kit or take a soil sample and have it analyzed by a lab. If the pH is above 5.0 — which most soils area — you can add peat moss, pine sawdust, or ground sulfur fertilizer to lower the pH.
Adjusting the soil pH can be tricky and may take some time to accomplish. Some gardeners opt to adjust pH the fall before planting to give them adequate time for this step. It’s best to add in a small amount of acidifying agent at a time, working it into the soil well. Give it time to equilibrate and then check the pH.
Once the pH is within the optimal range, work in 4 to 6 inches of organic matter such as finished compost or fully decomposed animal manure. This improves soil fertility and drainage.

How Far Apart to Space
Proper spacing is essential to ensure the bushes have access to adequate moisture and nutrients needed for growth. Space young shrubs so there are 4 to 5 feet between them within the rows and 10 feet between rows. They may look too far apart as new plantings, but the fully-grown mature bushes will fill in the space.
When sowing numerous blueberry bushes, it is best to create a designated area in the garden for them instead of interspersing the plants amongst your other garden plants. Keeping them close improves pollination resulting in better fruit production.

8 Steps for Planting
Adding a blueberry bush to your garden is a pretty straightforward process, following the same steps as planting vegetable plants in the garden or even ornamental shrubs or plants in the flowerbed. If the soil is dry, water it a day or two before to moisten the ground, making it easier to dig the hole.
If you are working with bare-root specimens, soak the roots in a bucket of tepid water for an hour or so beforehand.
- Using a pointed shovel, dig a hole twice the size of the roots.
- Take the soil you removed when digging the hole and mix it with finished compost to create a 50:50 mixture to use for backfill.
- Remove the bush from its container, using your fingers to gently open up the root ball, removing as much excess soil as possible.
- Mound a little of the soil/compost mix in the bottom of the hole, so the top of the root ball is about ½” beneath the soil surface.
- Carefully fan the roots out in the bottom of the hole, making sure not to break any.
- Backfill the hole, packing the soil tightly around the root ball.
- When the hole is filled in, water the soil well to remove air pockets.
- Spread 2 to 4-inches of mulch around the plant, keeping it at least 1-inch from the plant’s stem.

