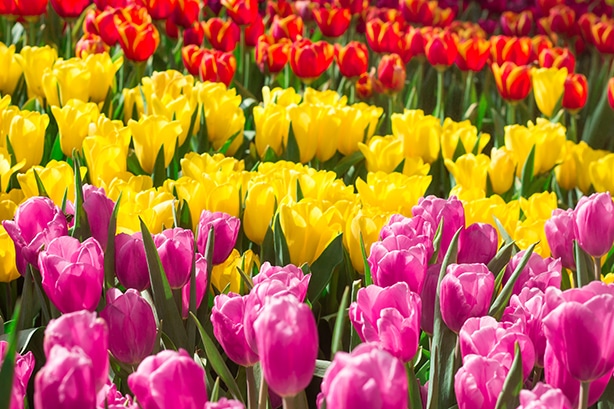
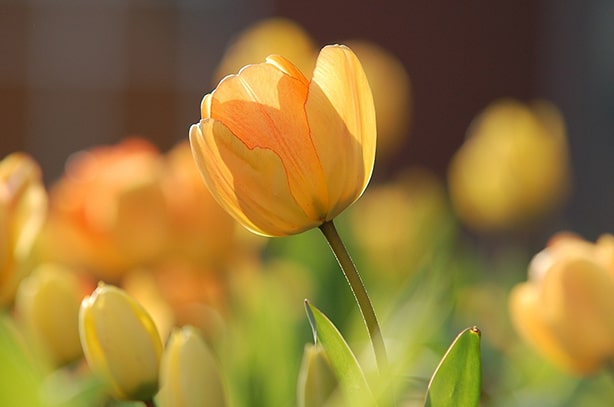
Nothing says springtime like a bed of tulips – bold, colorful, and happy. Planting tulips is fun and straightforward if you approach it with the correct methods and tools.
If you want to be successful, you’ll want to use the tips and tricks we have below. It’s easy to create a display that will delight you and your neighbors for months. And you can do it in one afternoon! This is easy – you got this.
We recommend that you also check out our article on the most popular types of tulips to consider growing.

Which Species to Choose?
From the small species tulips that will colonize over time, to the Emperors with their gigantic bowls of color, to the Parrots with their fringes and the peony flowering with their layers of petals. The multi-stemmed, the lily flowered, the Greigii with their mottled foliage; single late, double late…you must be thinking, “help there are too many varieties!”
Tulip selection can be overwhelming — there are so many varieties. If you are a first-time gardener, try a red or yellow, single early or single late tulip (Darwin Hybrids). Their WOW factor is amazing. The Darwin Hybrid can also return the next year if given proper care.
Where Do I Plant the Bulbs?

Full Sun
Tulips need full sun and like dry conditions. Choose a spot that receives at least six hours of springtime sun, isn’t constantly wet, and dries quickly after a rain.
Protection from the Elements
A spot that offers protection from the wind will give your spring blooming bulbs to hold their petals longer.
Consider Microclimates
If you plant against a south or west-facing wall in full sun, they will finish blooming faster than if they were planted on the north or east side of your home
Design ideas:
- Tulips can be mixed in with other perennials in your garden, tucked in between hostas or daylilies
- Plant a cheery cluster by your front door
- Grow them under spring-blooming trees and shrubs, like crabapples and lilacs
- Place them in a meander through your garden, mixed with other spring bulbs like daffodils and Muscari
- Raise them in a very large pot or a deep window box
- Plant them in a giant bed of at least 100 — all one color, mixed colors, or in color blocks
- Raise them along the path from your backdoor to the garage
- Grow them where you can see them from your kitchen window or your favorite chair.
- Place them where the neighbors and passers-by can enjoy them
- Pastel-colored tulips can be planted in front of a dark evergreen hedge
- Try natural looking clumps, or line them up like soldiers in two or three staggered lines

How Many Bulbs Should You Buy?
Buy as many as you think you will be able to plant over a few autumn days. You may only want a handful…or you may want hundreds. Decide where they will go, measure the space and figure about 4 bulbs per square foot.
Tools You’ll Need:
- A shovel or spade
- A rake
- A sturdy trowel
- A pair of garden gloves
- Fertilizer
- Maybe some compost
- And, of course, your bulbs!

When Should You Plant?
When the soil temps are consistently below 55⁰ F (12.7⁰ C) it’s planting time. A soil thermometer is inexpensive and a useful addition to your garden tool collection.
Tulips need a long, cold winter’s sleep, so it is best if they are planted in the fall. Folks in Hardiness Zones 8 and higher will need to precool their bulbs.
You can plant bulbs in the fall any time after the first few frosts until the ground freezes — about an 8-week window. But don’t wait too long! You want this to be a pleasurable activity, not one where you’re freezing your fingers off.
If you are looking for a place to buy bulbs, then consider checking out Eden Brother’s tulip bulbs. Once you have your bulbs, move onto the next steps!
Steps to Planting the Bulbs
Prepare the Soil
Tulips can grow in just about any soil, except wet, mucky ones.
If you want to add compost, spread it about 2” deep over the soil. Turn over the soil and mix in the compost to a depth of about 8” with your shovel or spade. Alternatively, you can give the soil and compost a quick going over with a tiller. Use a rake to smooth the soil.
Add Fertilizer
Inside each bulb is a complete plant — roots, stems, leaves, and a flower. The fertilizer you use should be a slow release 10-10-10, which will feed all parts of the plant.
Read and follow the directions on the label and apply the fertilizer at the recommended rate over the top of the soil. More is NOT better!
As you plant, the fertilizer will be incorporated into the soil.
DO NOT put fertilizer or other amendments into a planting hole! It can burn the bulbs.

Spacing and Planting
Plant the bulbs about 4-6 inches apart from each other. Smaller bulbs can go closer together, space bigger bulbs farther apart.
The bulbs should have their pointy end up and should be planted about 6 inches deep so that the bottom of the bulb is six inches down in the soil, or 3x deeper than height of the bulb. Larger bulbs are planted deeper, smaller bulbs shallower.
You don’t have to get out a yardstick. You can use your trowel to measure the spacing and also the depth of the hole.
Each one can have its own hole, or you can dig a large hole with a spade and space your them within.
Cover and smooth out the soil.
Water the Soil Once
Watering will help settle the soil around the new bulbs and eliminate air pockets. You will not need to water them again.
That’s it! You’re done!

Wait for the Spring and for Bloom Time!
Once winter passes and spring arrives, it’s time for action! It’s okay if they start peeking out through the snow — they can handle it.
You can make another fertilizer application when the green shoots show, but it’s not necessary unless you’ve planted Darwins or species tulips.
When the flowers fade and lose their petals, it’s okay to cut the stems. But leave the leaves. Let them fade and turn yellow because it’s the leaves that manufacture food for the bulb so it can come back the next year (if it does).
Sadly, most tulips do not reliably return year after year, even the “perennial” ones. Most varieties are produced by breeders to offer one big show in the spring after you plant them. Then the bulb splits, and it may be years before they’re big enough to produce a flower again.
Ever see a random tulip pop up in the garden? That’s what has happened; it’s an old bulb that has finally gotten big enough to flower again.
Even if they don’t return, enjoy your garden and the compliments. It’s easy to become hooked choosing new varieties each year. Before you know it, you’ll be waiting for the bulb catalogs every spring. Maybe it’s a good thing tulips don’t reliably return – you get space to try something new and different each year.
Before planting tulips, you may also want to consider the meaning of different tulip colors. If you need inspiration or creative design ideas, check out of the many tulip festivals!
Troubleshoot Common Problems
If rabbits and deer think your garden is their favorite restaurant, you can use a repellent like Liquid Fence or Deer Scram to discourage them. There are many other diseases and pests you’ll want to watch out for. Learn more here.
–The Green Pinky

