
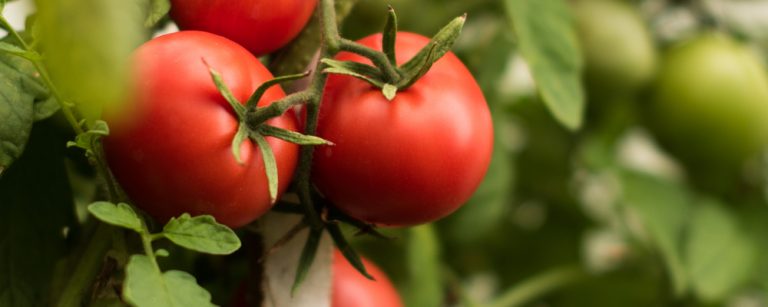
Growing tomatoes is one of the most exciting garden activities every year. Each plant can grow to quite big and produce fruit all summer long.
To get a head start, most gardeners start seeds in the winter and transplant them once the weather has warmed up.
Tomatoes will not survive a frost, so don’t get overzealous and transplant too early!
Check the last frost date in your zone before starting the process of moving the plants into your garden. Keep reading below for more tips and steps.
If you enjoy this article, then we are sure that you will also enjoy reading our general guide on growing tomatoes here on the Green Pinky
Relocating Seedlings
In most places, seeds are started indoors or in a greenhouse. This gives gardeners a longer growing season and allows the seedlings to grow in a safe and controlled environment.
Air temperature and sun exposure can be controlled indoors, saving you the headache of having your plants wiped out by a cold night.
A common method for starting seeds is in a starter tray with individual cells. This allows for a large amount of seed to be started in a clean, organized way. Multiple seeds can be sowed in each cell.
Feel free to use any potting soil on hand, as the seedlings don’t need much besides water and light when they are first growing.
Once they sprout, just cut back the weakest seedlings and allow the strongest ones to grow.

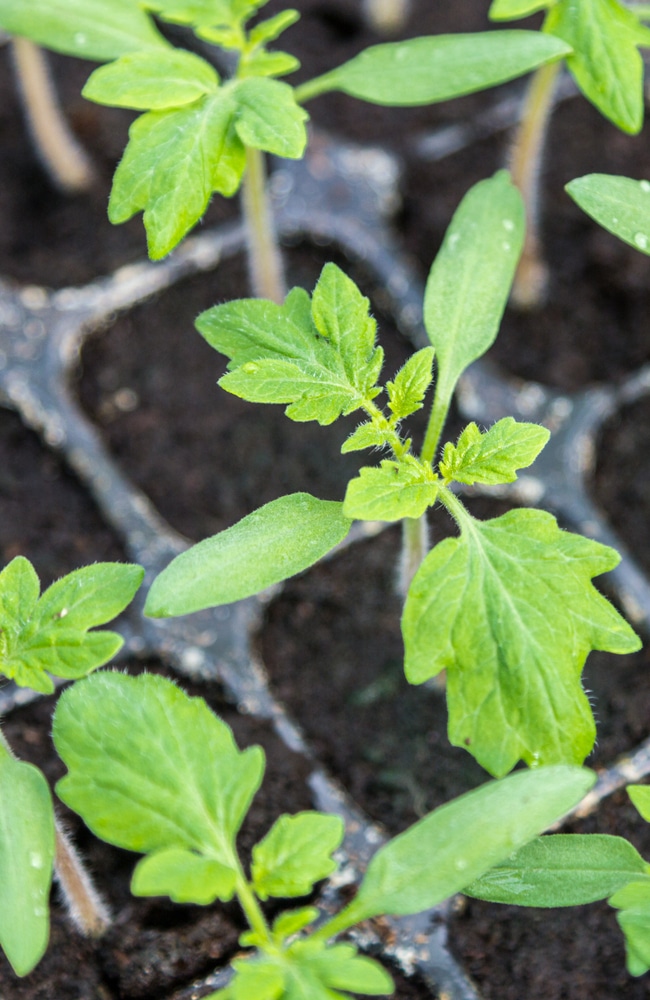
When to Replant Seedlings
You should replant seedlings when they are about 2 to 3 inches tall and have developed their first set of “true” leaves. Unless you start your seeds in medium-sized pots, they will need to be replanted at this point to promote good root development.
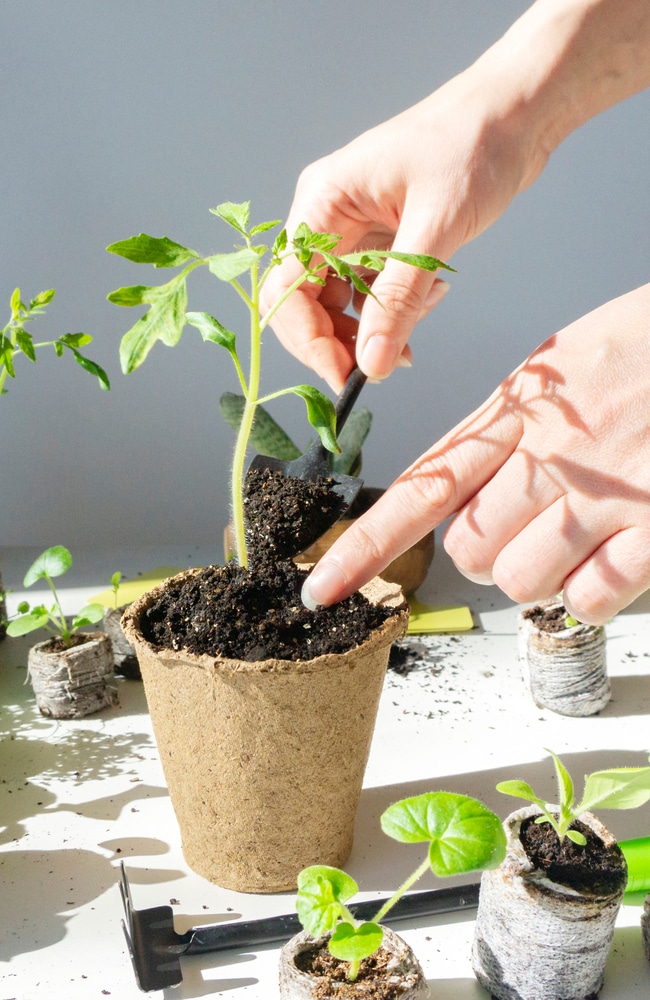
Directions for Moving
Using high-quality potting soil for tomatoes, fill the necessary amount of pots about halfway with soil.

You will want to use pots around 4 to 6 inches in height and width. The container size should be as tall and deep as possible, as it is healthier for the roots to grow “down” rather than to the side.
Dig a hole with your fingers and place the seedling with its root ball into the container.
Backfill the pot with your potting soil, covering the stem up to the bottom set of leaves. This will provide more stability for the stem. It also allows for more surface area on the stems to sprout roots from.
Transplanting Tomato Plants to Your Garden
There is no set timing for when to transplant. Rather, you will look at the size of your tomato plants as well as time it with the weather.
You’ll know it is time when they have grown bigger (including a thick, sturdy stem). As for timing, make sure the last frost nights have passed. Once both of these have occurred, it is time to transplant into the ground!
Generally speaking, this will be when it is roughly 6-8 weeks old.
Directions for Moving
To transfer a tomato plant into the ground, start by digging a hole approximately twice as big as the current pot or root ball. Providing a larger hole with loose dirt will allow the roots to spread with ease as it becomes established.
After digging, place the root ball into the hole with the lowest leaves just above the soil level.
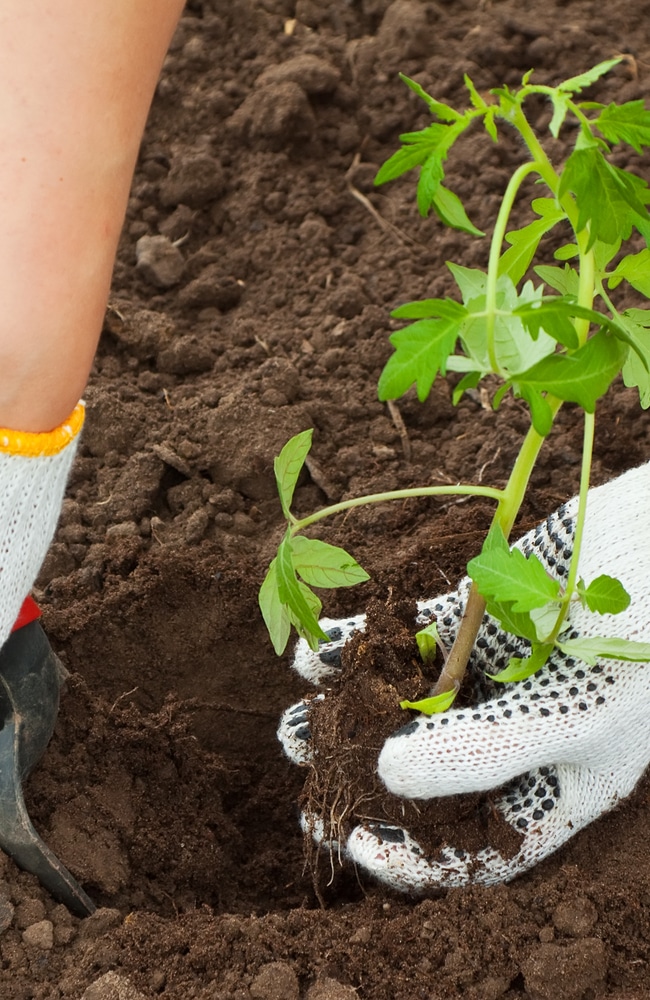
Next, backfill the hole with loose soil and lightly pack it down. Once again, the stem can be covered all the way by soil up to the first set of leaves.
Once it is in the ground, water it thoroughly.
If you are transplanting tomatoes that are 6 – 8 weeks old, they should be eager to establish themselves and will usually show vigorous growth if planted in nutritious garden soil. If you are transplanting a mature plant, it will probably experience a delay in growth and may lose some leaves or flowers.
Other Tips
Moving your young seedlings into a drastically new environment may cause shock so make sure you wait until the right time.
Additionally, shock can usually be avoided by providing adequate moisture after transplanting a plant outside.
Before moving transplants outside, feel free to give them a “hardening off” period by putting the tomato containers outside for a few hours each day. After a couple of days, you can leave the containers out overnight, as long as there is no danger of a frosty night. This will help them get used to their new environment, especially in regards to sunlight and wind patterns.
Once they are accustomed to the outdoors, they will be ready to place into the garden.
Tomato enjoy full sunlight, so plant them somewhere in your garden where they can receive at least 6 hours of light daily.
They are also heavy feeders, so feel free to amend your soil or potting mix with a layer of compost or another fertilizer of your choice. Side dressing the base works great. When you water, the nutrients from the compost will seep down into the root system, allowing the plants to grow to their maximum size.
Additionally, it is recommended to apply a 2 to 3-inch layer of mulch. This will suppress weeds, retain moisture, and keep the roots cooler in the heat of summer.
Diseases are common among tomato plants, especially in moist conditions. While they need plenty of water, the moisture can harbor molds and bacteria. So make sure not to overwater.
Feel free to prune some branches in the early stage of growth to allow for adequate airflow and lower the chance of diseases.
If you have a greenhouse, feel free to try growing tomatoes in containers or pots. You can enjoy the harvests throughout the spring and fall, and you can skip planting them in your garden. If so, be sure to use pots that are big enough for the roots. Also, use high-quality soil that has enough nutrients to feed the plant throughout the season and provide the branches with trellis supports. Determinant varieties will continue to produce as long as it is receiving enough water and nutrients.
Go Take Action!
Tomatoes are a tried and true garden plant.
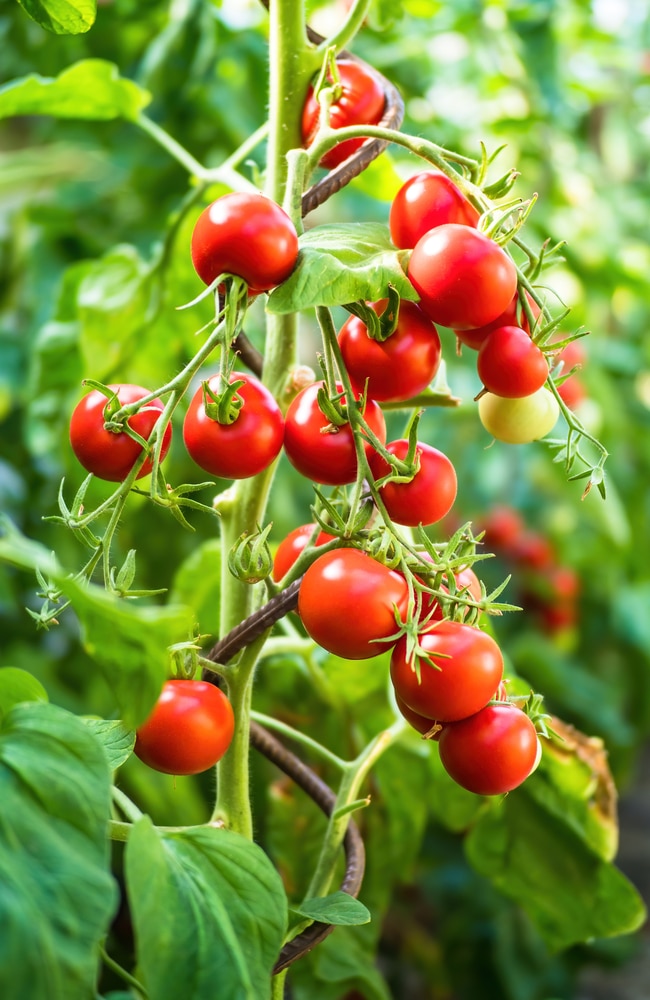
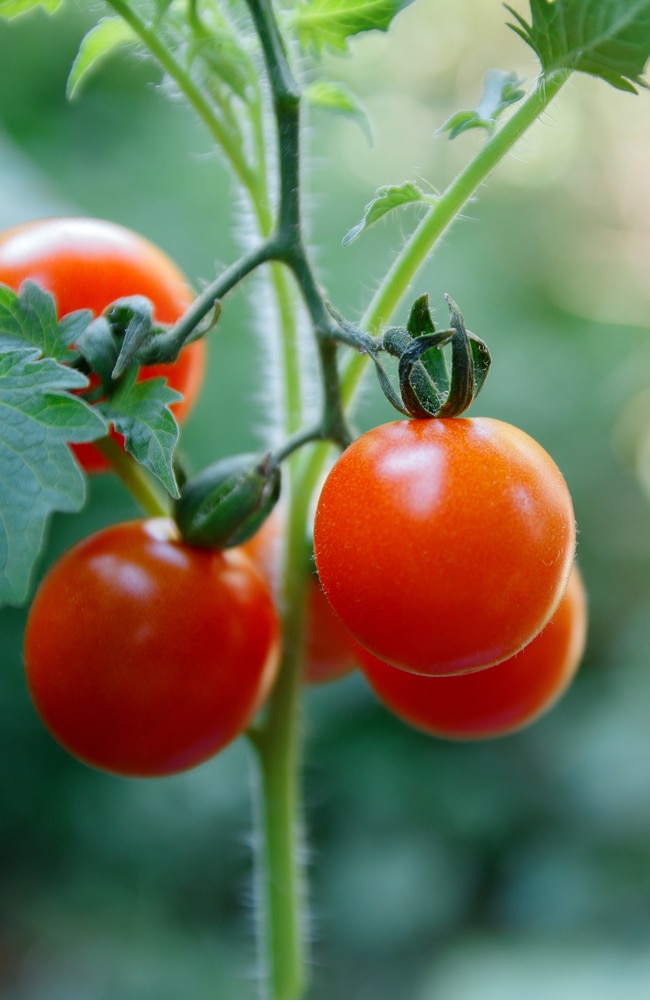
Once established, a tomato plant can produce fruit all summer long until the first frost of fall. While they can be a bit picky about soil and nutrients, your effort will be well rewarded come harvest time.

By starting the plants in indoor containers, you can extend your growing season by weeks. Transplant after the last cold nights to ensure ideal conditions for your plants.